Homemade Body Butter for Beautiful Skin

Body butter is perfect for nourishing tired, rough and dry skin.  It is so important to revive those sore elbows and knees with some creamy goodness.
So instead of heading to the drug store to buy an overpriced, chemical laden body butter that contains ingredients that are questionable, why not just make your own?
It is so straightforward and cheap to do that you will find yourself making them for the all your female friends and relatives.

Homemade Body Butter Recipes For Silky Skin
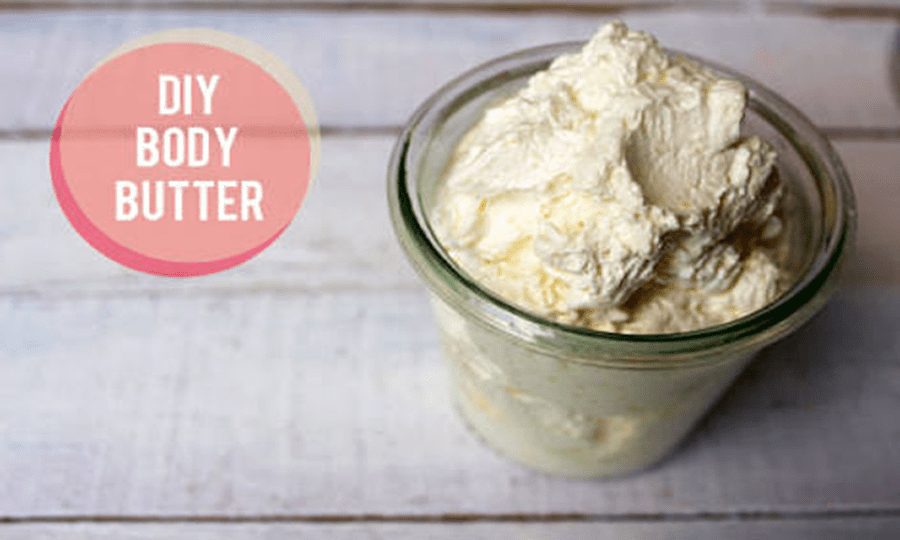
To make your body butter, you will need body butter, body oil and an essential oil of your choice.
Note: Not all essential oils are skin friendly or child-friendly. Please do your research before adding.
Try one if these two great body butter and keep your skin youthful and wrinkle free.
Shea Body Butter
Ingredients
1 cup organic raw shea butter (solid)
1/2 cup coconut oil (solid)
1/2 cup almond oil (liquid)
Preparation:
1. Melt shea butter and coconut oil in the top of a double boiler. Remove from heat and let cool for 30 minutes.
2. Stir in almond oil and essential oils of your choosing.
3. Place oil mixture in freezer or outside to chill.
4. Wait until oils start to partially solidify then whip until a butter-like consistency is achieved.
5. Place in clean, glass jar and enjoy!
A little goes a long way.
Cocoa Body Butter
Ingredients
1 cup cocoa butter
1/2 cup coconut oil
1/2 cup sweet almond oil
Instructions
Preparation
1. In a bain-marie, melt down your hard butter and oils until fully liquid
2. In a bowl, blend the melted butter with all of the oils and set in the freezer to harden about 20 minutes.
3. Once the mixture is solid again, but not too hard, whip it up using an electronic whisk, a food processor with a whisk attachment, a handheld whisk and a bit of elbow grease or your kitchen-aide (lucky!) until you have created fluffy white clouds
4. Spoon it into a clean jar or container. It will keep for months.
5. Slather it on!
How to fix broken Compact Makeup

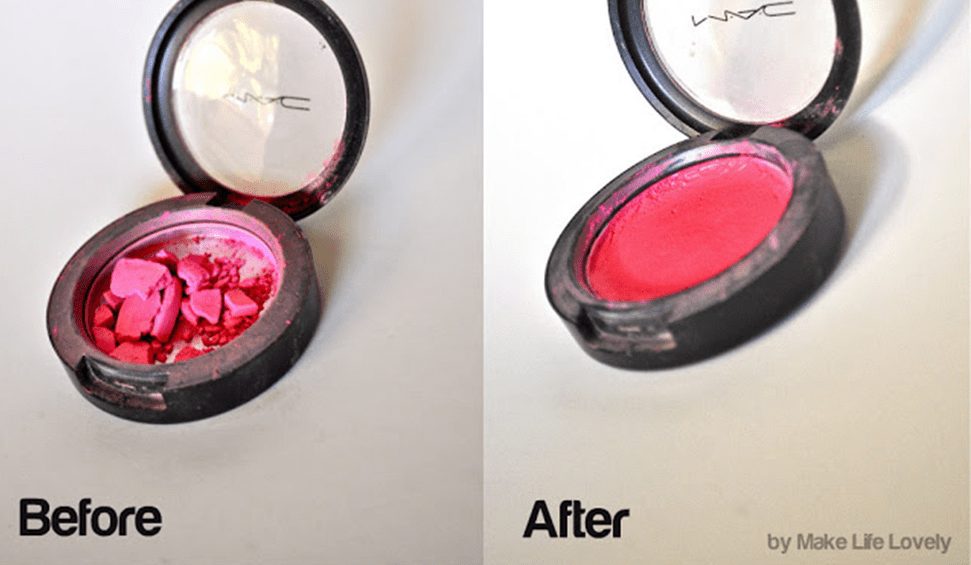
You have probably experienced that moment when your compact falls and the powder breaks, or you just open your makeup bag one morning to find your compact blush has broken into many pieces. I know that feeling!
Are you thinking about throwing it away? Well, you do not have to worry anymore; here is a corrective surgery (lol) for your compact makeup.
Items needed

Broken powder makeup
Rubbing alcohol
Piece of paper

Procedure
1. Pour out all the pieces of makeup into a clean sheet of paper
2. Crush it up (including the parts). Fold the paper in two and use a bottle or anything you have to it to fine powder

3. Pour the crushed powder back into the compact

4. Pour or spray a few drops of rubbing alcohol (spirit) onto the powder in the compact and allow to soak in

5. Using your finger or the back of a spoon, rub and smoothen the wet makeup
6. Once it is smooth, leave the makeup to dry overnight
7.  By morning, you will see your makeup is back to normal
 
Just like magic!
This method works for all powder makeup; be it blush, eye shadow or powder, you can thank me later!

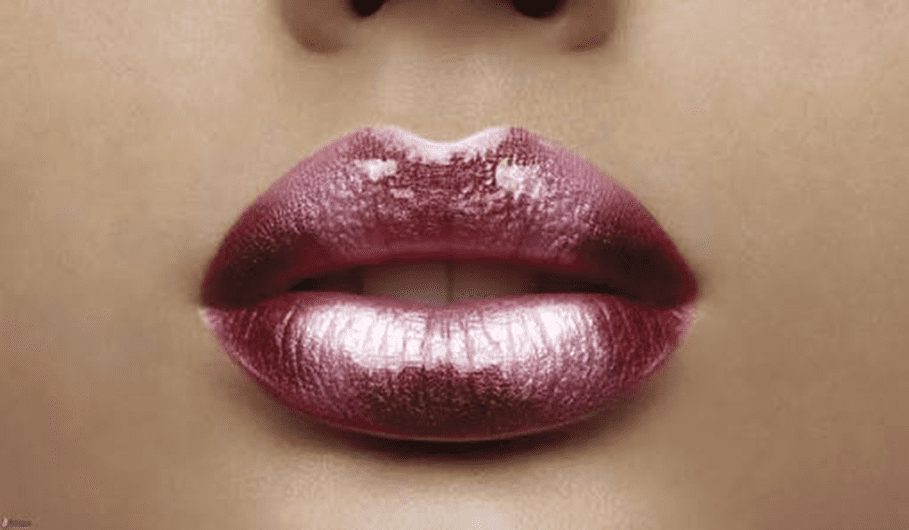
How To Make Your Lipstick Last Longer

Are you desperately looking for tips to make your lipstick last longer?
It is very annoying when your beautiful lip colour disappears before you have barely stepped out of your house.
So what can you do to maintain a sharp look?
Tips to make your lipstick last longer

If you are tired of having to reapply your lipstick over and over again, try these helpful tips to make your lipstick last longer.
Make sure there are no flakes of dead skin renting out space on your pout. Use a lip scrub to exfoliate those away. It will make you lipstick stain.
Follow this by applying a hydrating, non-oily lip balm. Anything with a waxy consistency is preferred over a slimy texture that will cause the colour to slide right off.
Next, pat a little foundation or concealer over your lips. Don’t entirely erase your mouth, but take out your lip’s natural pink so that your lip colour’s exact hue will show.
This will give it a little something extra to adhere to. If you have a dark skin tone, this also helps enhance the lipstick’s actual colour.
Now, outline your lips with a lip liner, as well as fill them in. The lip pencil is drier than lipstick and serves as a layer of colour for the lipstick to grab onto.
Start by applying your lip colour selectively, instead of just swiping across the whole lip. This makes for even, controlled application.
Now fill in the rest of your lips.
Take a tissue and separate it into two halves. Place one sheet on your lips and dust a translucent powder over your lips, through the tissue.
This trick is used by makeup artists backstage at fashion shows.  This sets the colour, without depositing a layer of powder.
Lightly apply a bit more lipstick on top.
Now you do not have to worry about your lipstick rubbing off.

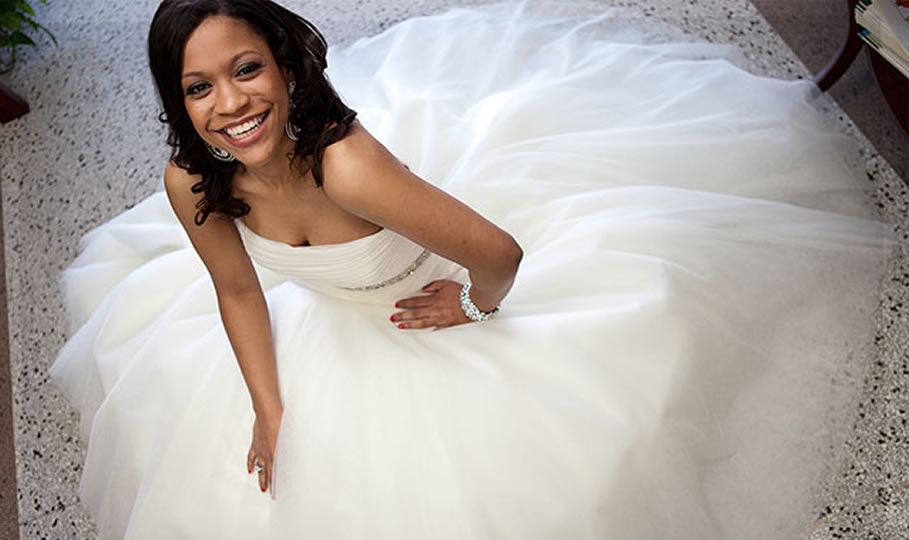
Choosing The Right Bridal Accessories

Congratulations! You have finally found your wedding dress of choice. The search is not yet over, however. You still need your accessories which are the finishing touches.Every woman wants to look her best on her wedding day, and we have written a guide to help you choose the perfect accessories for your day.

 Bridal Accessories
1. The VeilThe Veil is an essential bridal accessory. There are several types of veils to choose from, but you should choose a scarf that complements your dress colour and style.  You also have to be mindful of your hairstyle and hair accessories as you will not want one to get in the way of the other. It would probably be best to decision on your hairstyle before going veil shopping.
2. PetticoatA petticoat can make a huge difference to the look of your gown, and it also provides some practical benefits such as keeping the dress fabric away from your legs. There are many styles of petticoat available, and the dress style determines the suitable petticoat.A ball gown or satin made gown will require a petticoat with hoops, while a dress with tight waist and puffy skirt will need and A-line petticoat.
3. ShoesYour shoes have to be super comfortable as you would probably stand for extended periods of time and you want to be discomfited. Consider opting for ankle strapped shoes over slip-ons as they give more support. It is best to go shopping for shoes at the end of the day and to buy your shoes early, so you have enough time to break them in.
4. JewelryThe type of Jewellery is dependent on the colour and style of your gown. For a pure white dress, you could choose silver or platinum jewellery. Some clothing styles might not require a necklace, a high-necked dress, for instance, may just require dangling earrings.

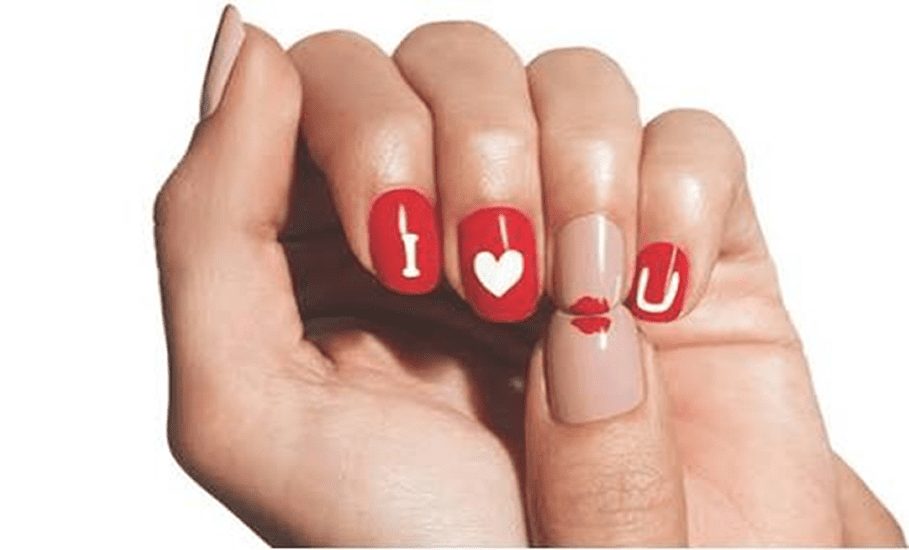
How To Make Your Nail Polish Last Longer

Our hands go through many activities during the day, makeup application, cleaning the house, typing on keyboards, washing dishes, and so on, and poor manicures do not stand a chance.
Fortunately for us, there are some known tricks to making your nail polish last longer — besides just applying a top coat every two days.
Tips to make your nail polish last longer

Keep shorter nails
When your nails are long, the tips are more exposed, and you take advantage of them by peeling off stickers, putting keys on the main rings thereby putting them in harm’s way.
Short nails are shorter than the tip of your finger; this means your finger, not the polish, will take the brunt of any activity that could create chips.
Wear the best top coat
Everyone has their favourite, but wear a top coat which consistently keeps our polish chip-free for at least a week.
If you only do one thing to make your manicure last, it is got to be using a good top coat.
Use gloves
Doing your chores, especially washing dishes without gloves will completely destroy your manicure.
The water and soap can dry out the manicure, making it less shiny and likely to chip.
Wear a sturdy pair of rubber gloves.
Wear thinner strokes
It is true that it can be tempting to pack on the polish, but too-thick nail polish can tend to peel off, shortening the life span of your manicure.
Go for thinner strokes, getting just enough polish on the brush, so you do not overload your nails.
Seal the edge
If you are applying a top coat without sealing the edge of your nail, that is exactly what you are doing wrong.
The tip of your nails take the brunt of the polish beating, so be sure you are protecting it with a good cover of clear polish.
Quit soaking your nails
Soaking your nails in water at the nail salon (or at home) will cause your nails to absorb water, expanding their natural shape.
By the time your nails are polished, the water evaporates and your nails contract, which causes the polish to chip and crack.
So if you have given up polishing your nails because it does not last long, try these helpful tips that are proven to be effective.

What To Wear If You Have A Skinny Body

If you are naturally slim, it can be more complicated than you think to know which styles and clothes will best suit your body shape.
While many trends will look great on a slim body, there are some essential items every skinny woman should invest in and some fashion no-no’s that are best avoided to look more feminine.
What to wear to look more feminine
To look more feminine, you can add curves to your frame with peplum style dresses and tops, thus creating an hourglass look for you.
Bootleg jeans and trousers look great on women with a skinny body too as they give the body extra shape and dimension. Alternatively, skinny jeans will naturally look fabulous.
Wear fabrics with some structure, they are ideal for creating the illusion of curves for your body, but you do not want to go too bulky as this can make your frame look rigid.
If you want to accentuate your figure, then clingy fabrics are just perfect for you, but if you want to add a curve to your body, you should avoid them and go for something thicker like wool.
Wear horizontal stripes on the top half to give your body some added curves. Avoid wearing an all black out if you do not want to look slimmer than you are. 
Belts should become your new bestie! Both thick and skinny straps paired with a floaty dress or top will add shape to your outfit and accentuate your tiny waist.

Looking Great On A Slim Body
Layering is a perfect way to give the illusion of curves, layer tops and accessorise with chunky scarves.
Many women wear baggy clothing so as to hide the fact that they are on the thin side, this is a mistake as it accentuates how small you are as the clothing tends to swallow your small frame.
 

How To Clean Your Gold Jewellery

Gold does not develop a dull tarnished finish over time. However, it can still easily accumulate dirt and grime with regular use.
So if you love your precious gold jewellery and you want it to look new and shiny forever, try these tips.
Tips to keep your gold jewellery clean
To restore the shine to your precious rings, bracelets, necklaces and other gold jewellery, you will need just a few household tools and ingredients.
Follow the steps below!
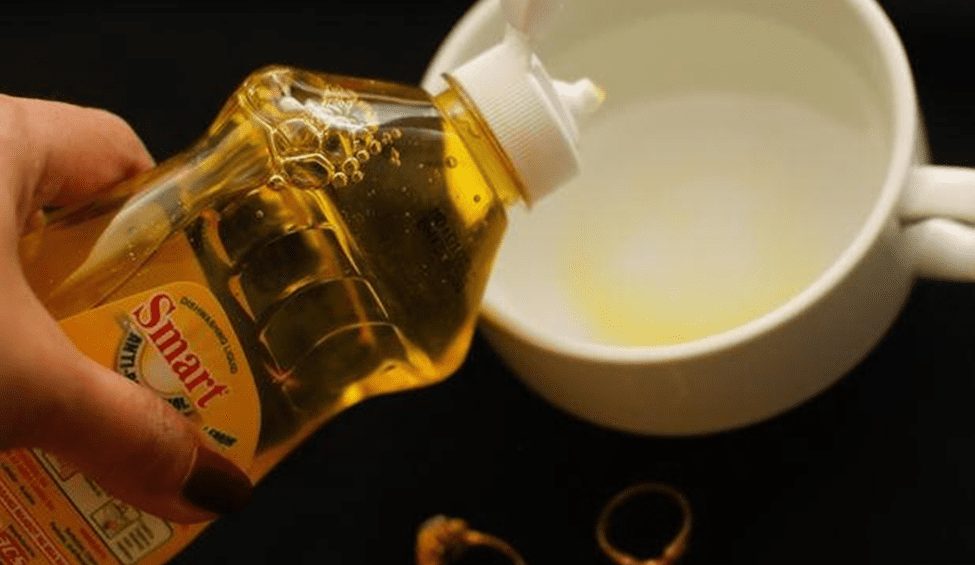
Pour a few drops of liquid dish detergent in a bowl of warm (not hot) water. Mix gently.
Ordinary tap water will work fine too. For even better results, you can use sodium-free seltzer water or club soda.
The carbonation in these liquids can help loosen accumulated dirt and debris.
Avoid using hot or boiling water, especially if your jewellery contains fragile, precious stones.
Some gems, like opals, can crack if subjected to rapid and drastic temperature changes.
Soak your gold jewellery in the solution. Allow the jewellery to sit in the water for about 15 minutes.
As the jewellery soaks, the warm soapy water will work its way into the cracks and crevices, loosening hard-to-reach buildups of dirt.
Next, gently scrub the jewellery with a soft-bristle toothbrush. Clean each piece of jewellery individually, paying particular attention to nooks and crannies where dirt may be hidden.
Make sure you are using a very soft brush – the softer, the better. Stiff bristles will scratch the surface of your jewellery.
If your jewellery is gold-plated (as opposed to solid gold), stiff bristles will even remove the gold layer entirely.
Select brushes designed for jewellery cleaning purpose are best, but most small, soft brushes (like, for instance, eyebrow brushes) will also work.
Rinse each piece of your jewellery in warm running water. It will help remove lingering dirt that’s been loosened by the action of your brush.
If you are rinsing your jewellery in a sink, ensure you plug or cover the drain so that you do not accidentally lose your jewellery should in case it slips out of your hands.
You can rinse your jewellery in a pasta strainer or metal coffee filter instead of a sink.
Dry your jewellery with a soft cloth. Then, let the jewellery sit out on a towel to air dry completely before wearing it again.
Wearing a wet jewellery can trap moisture against your skin, leading to minor skin irritation.

Five Movies To Watch In November

It is Sunday afternoon, you are home and bored; you do not feel like visiting friends, and you are thinking of a way to relax. Why not go out to the movies? Here is a list of must-watch movies this month. You do not have an excuse now, get dressed and watch one of these.
 
1. When love happens again
 I am sure most of us watched the prequel “When love happens” well Mo and Tobe are back again. This time Mo has started her Event Planning outfit “MBS Events Consulting”, and she has landed a major account with Diamond Global’s billionaire Demilade Adenuga.

2. Masterminds
 This movie is based on the 1997 Loomi Fargo robbery in North Carolina. David is an armoured truck driver who is lured into the heist of a lifetime by his work crush. He manages to steal $17 million and hands it over to the gang who double cross him. Forced to go on the run, David must dodge the authorities and try to turn the tables on his untrustworthy comrades.

3. Inferno
 Famous symbolist Robert Langdon is back; he wakes up in an Italian hospital with amnesia and teams up with a doctor, Sienna Brooks. Together they race across Europe to stop a madman from unleashing a virus that could wipe out half of the world’s population.

4. Marauders
 When a bank is hit by a heist all evidence points to the bank owner and his high-powered clients but as a group of FBI agents dig deeper into the case, it becomes apparent that a larger conspiracy is at play.

5. Dinner
 Mike Okafor is invited by his childhood friend Adetunde to have dinner and spend the weekend with him and Lola his fiancée as they plan their upcoming wedding. Mike comes along with his girlfriend Diane. Things get out of hand when they arrive at Tunde’s house, and they begin to find out things about each other’s relationship.

How To Price Your Hand Made Goods

Sometimes back I wrote about business ideas for Stay At Home Mums (SAHM). After writing, I had an opportunity of catching up with a girlfriend, she was talking about starting a business but didn’t know how much to sell her goods. It then occurred to me that so many people are in business today and probably selling themselves short or pricing their items way too high (though if you have clients buying your overpriced goods, you might just leave things the way they are, LOL). This is for every person that wants to know the worth of their goods. Below are steps that will help you calculate your selling price.
1. Calculate cost of materials
To calculate the cost of materials, you have to add the prices of all the goods you used. For example, if you are a beader, you need to calculate the cost of the beads, wire, divider, etc you used to make a particular bead.
Hint: Try to buy your goods in bulk from stockists as this will significantly reduce your materials costs.
2. Add your Artistry
There are a few ways to do this, but there are two significant ways:

Calculate your based on your amount per hour

I use this method most times, but you will have to decide how much you think you should make per hour. For example, let’s use the minimum salary wage in Nigeria which is 18,000 Naira. Assuming you work 6 hours daily (30 hours per week, 120 hours per month) and your salary at the end of the month is 18, 000. To calculate your amount per hour, you can do this simple maths;
120 hours = 18,000
1 hour = 18,000= 150 Naira per hour


For instance, as a beader who has made beaded jewellery worked on for 2 hours, your artistry is 150 x 2 = 300 naira.

Another method is about the time and energy spent on the particular item and add to the cost of materials end up short changing yourself this way.

You will probably realise after a while that method 1 is better for you.
3. Markup
The Markup is an amount added to the cost price of goods to cover overheads and profit. Your markup normally should be (cost of materials + work) x 2 though you could fix your markup anywhere between 1.5 and 2.5 depending on your overhead cost e.g. you are paying rent for your shop, or you pay electricity bills, etc. If you work at home, you might not pay these running costs so you can still leave the markup at 1.5. It is, however, important you markup your goods (whether you are at home or in the shop) as it is the difference between struggling to make ends meet and you making a profit from your business.
So for the beader whose cost of materials is 500 naira and artistry is 300 naira, your selling price for the beaded jewellery will be (500 +300) x 1.5 = 1200 naira.
This price is your wholesale price you then determine your retail price, though experts suggest you should multiply by another markup of 2 i.e. 1200 x 2 = 2400 but this is your ultimate decision.
                 

Banana Smoothies For Weight Loss

If you are looking to slim down, look no further than these almighty banana smoothies. These super-simple weight-loss smoothies pack protein and flavour, so you will not feel deprived.
Smoothies detoxify the body, ridding it of excess fat and giving the skin a youthful glow.
So with these smoothies, you will be getting a flatter tummy, trimmed body and beautiful skin.
Banana Smoothies Recipes

Take these delicious banana smoothies every morning and watch yourself transform into a healthy beautiful woman.
Banana Cream Pie
This smoothie might taste like dessert—but with a half a cup of Greek yoghurt in each serving, it is a much better alternative to doughnuts and coffee cake.
For two servings:
One large ripe banana, frozen
1 cup plain, low-fat Greek yoghurt
1/2 teaspoon vanilla extract
Two tablespoons honey
1/3 cup unsweetened nut, soy, or cow’s milk
Handful of ice cubes
Graham cracker crumbs, crushed, for garnish
Preparation
Combine banana, yoghurt, vanilla, honey, milk, and ice in a blender. Blend on high speed until smooth. Sprinkle graham cracker crumbs on top before serving.
Banana-Peach Milkshake
This recipe makes one serving
1 cup almond or hemp seed milk
1 cup fresh or frozen peaches
1/2 cup fresh pineapple juice
1/2 frozen banana
One teaspoon coconut oil
Preparation
Blend all ingredients in order listed until smooth then drink!